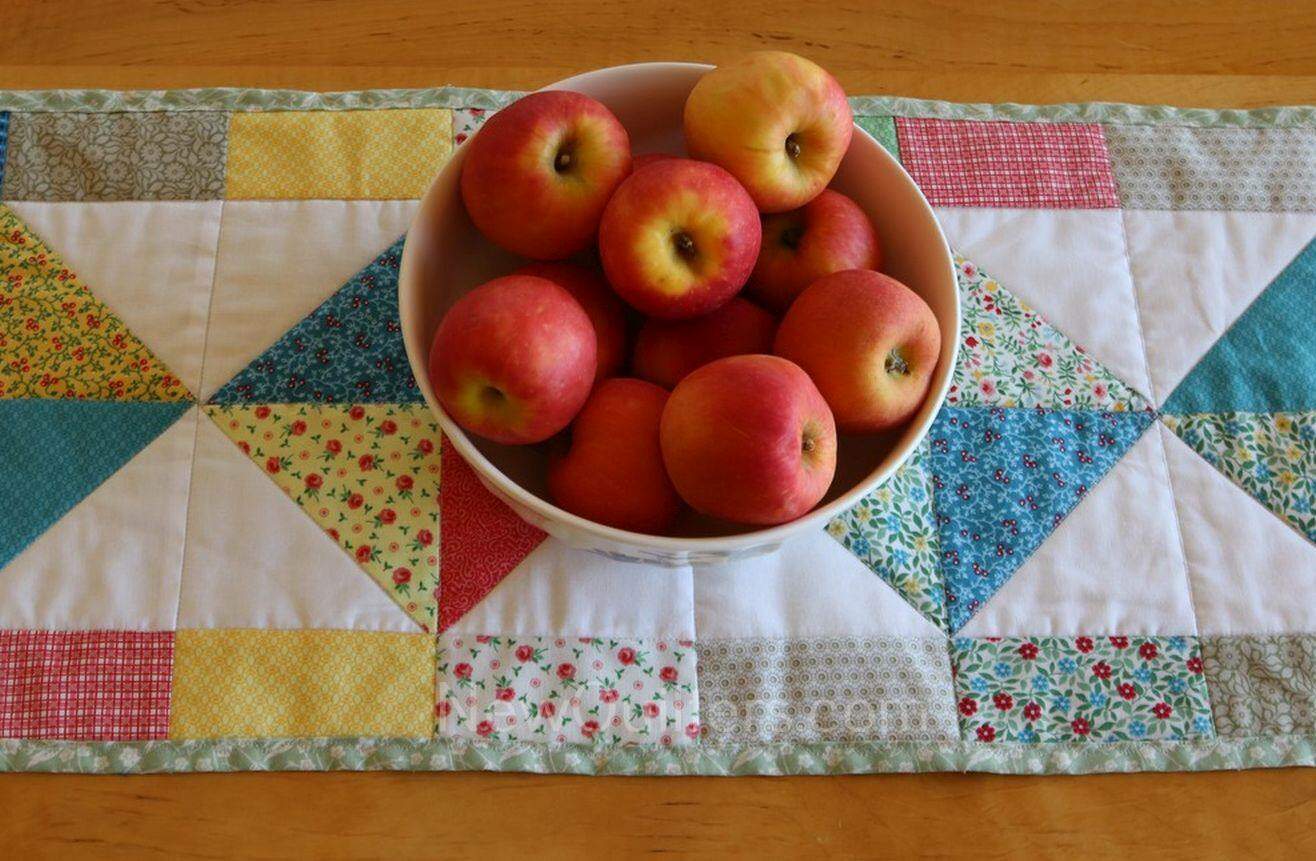
Diamond Charms Table Runner Quilt Tutorial
 I like making small quilts, especially when I want to try out a new quilting technique. That way, if something goes wrong, it’s only a teeny little disaster, not a huge one.
That’s one reason I made this little table runner. It was my first-ever self-bound quilt — that is, a quilt where you fold the backing fabric to the front to finish the quilt’s outer edges, instead of making and sewing on a separate binding.
Diamond Charms Table Topper Quilt: 12″ x 41″ (31 x 104 cm)
A lot of our readers tell us that they hate, hate, HATE binding a quilt. If that’s you, there’s good news — binding your quilt with the backing fabric is fast, easy, and looks just as good as a separate binding. Self-binding eliminates the time-consuming work of making binding strips, sewing the strips together, and sewing them onto the quilt.
I have also had an inspiration photo of a quilt that looks a lot like this tacked up on my sewing room wall for years (yes, literally for years!) It occurred to me that this quilt would be perfect to make from a package of precut 5″ charm squares.
Fabric You Will Need
- Eight white 5″ charm squares. I buy my white squares 200 at a time on eBay, but if you prefer, you can cut your own.
- Twenty-two 5″ charm squares in assorted colors that look good to you. I took mine from a charm pack (unfortunately, there was no label, so I can’t tell you who designed the fabric.) You can do the same, or cut your own squares.
- One piece of backing fabric in a coordinating color that measures at least 14″ x 43″. I like to use a piece that’s a little larger and trim it down.
- One piece of thin batting that measures at least 12″ x 41″. Cotton or bamboo batting both work well for table runners.
Special Tools and Supplies
- Fine point marking pen or pencil
- Scissors
Step by Step: Piecing the Table Runner
- Use a pen or pencil and a to draw a diagonal line from corner to corner on the back of each white square.
- Choose eight colored squares. Pair each white square with a colored square. Each pair of squares will produce two half-square triangle blocks.
- Place right sides of the squares together and carefully align the sides and corners.
- Make half-square triangle blocks. Start by sewing each set of squares together on both sides of the marked line, using a quarter-inch seam allowance. If you have a quarter-inch piecing foot, it will make this step easier.
- Cut the blocks in half between the two sewed lines.
- Press the triangle blocks open. I press the diagonal seams open instead of pressing the seam allowance to one side to reduce bulk when the blocks are joined into diamonds in Step 8.
- Square up the blocks and trim off the little tails at the corners.
- Arrange the triangles into a pattern you like, then go away for a while and look at the pattern again. I usually rearrange my blocks several times before I settle on a final layout.
- Sew the triangle blocks together into diamond blocks. It takes four triangles to make one diamond block. Pin carefully at the spots where the seams join to make sure they match as perfectly as possible.
- Lay out eight more of the colored squares next to the triangle sets. When you have an arrangement you like, sew the squares into four sets of two. Press the sets open.
- Cut each set of squares in half horizontally.
- Arrange half of the sets on the bottoms of the triangle blocks, and half on top. Put right sides together. Align the seams between the two squares with the points of the triangles, and pin to keep them aligned while you sew.
- Sew a colored set to the top and bottom of each diamond block, then press and trim off the extra fabric on each side.
- Mark the top left corner of the leftmost block with a safety pin to avoid getting blocks accidentally turned around, then sew the diamond blocks together. I usually work from left to right.
- Arrange the final six colored squares on the two ends of the table runner — three on the left side, and three on the right. When you’re satisfied with the layout, sew each set of three squares together.
- Fold the square sets in half and press them to mark the center point.
- With right sides together, align the center of each set of squares with the point of the diamond on that end. Pin in place.
- Sew the square sets to the ends of the table runner. Press, then trim off the extra fabric on each side.
- Use a ruler to square up the quilt. You’re now finished with the table runner top!
Self-Binding the Quilt
- Lay the backing fabric on your work surface, right side down, then center the batting on top of the backing. Center the quilt top on top of the batting, right side up. I baste the layers lightly together with basting spray, but I don’t think that’s strictly necessary for such a small quilt.
- Stitch the layers together. I stitched the whole quilt in the ditch, which means that I sewed the quilt together along the existing seam lines.
- Use scissors to carefully trim away the extra batting all around the quilt top. Don’t trim the backing fabric yet!
- Use a rotary cutter and ruler to trim the backing fabric so there is a 1″ edge of backing all around the quilt.
- Starting with one edge, fold the backing fabric so its raw edge just butts up against the edge of the quilt top.
- Press, then fold again so the folded binding covers raw the edge of the quilt top. Pin or clip in place. I used small Wonder Clips for this step.
- When you reach a corner, fold the binding into a triangle, then press. Some people use a wash-away glue stick or a dab of Elmer’s glue before pressing to secure the triangle in place. I just used a lot of steam when I pressed the corner.
- Keep the triangle in position as you fold the next side the same way you did on the first side. This will create a miter, or 45-degree angle fold, at the corner.
- When you make the second fold in the new side, you will create a mitered corner. Pin or clip the corner carefully to make a perfect miter.
- Keep folding the binding and making triangles at the corners all around the quilt.
- Top-stitch the folded binding to the quilt top. Stitch as close to the folded edge as possible to make it really secure. You can use a straight stitch or a decorative stitch, as I did.
Your table runner is done! Put it on the table and enjoy your handiwork.
What a sweet, simple design! Just what I was looking for to practice some hand quilting. Thank you for such an easy to follow tutorial!
Love these cute quick projects !
This was a great quilting lesson. I made a table runner based on this. Wish I could send you a picture!
You can send a photo, Sona. We’d love to see it! Just email to info@newquilters.com.
Thank you! I’ve been looking for a different table runner! Love It!
How perfect! I need a runner for my buffet and this will do the trick. Thanks so much.
Glad you liked it, Maureen. The one I made has already been confiscated by a friend who was visiting and thought it would be perfect for her table.