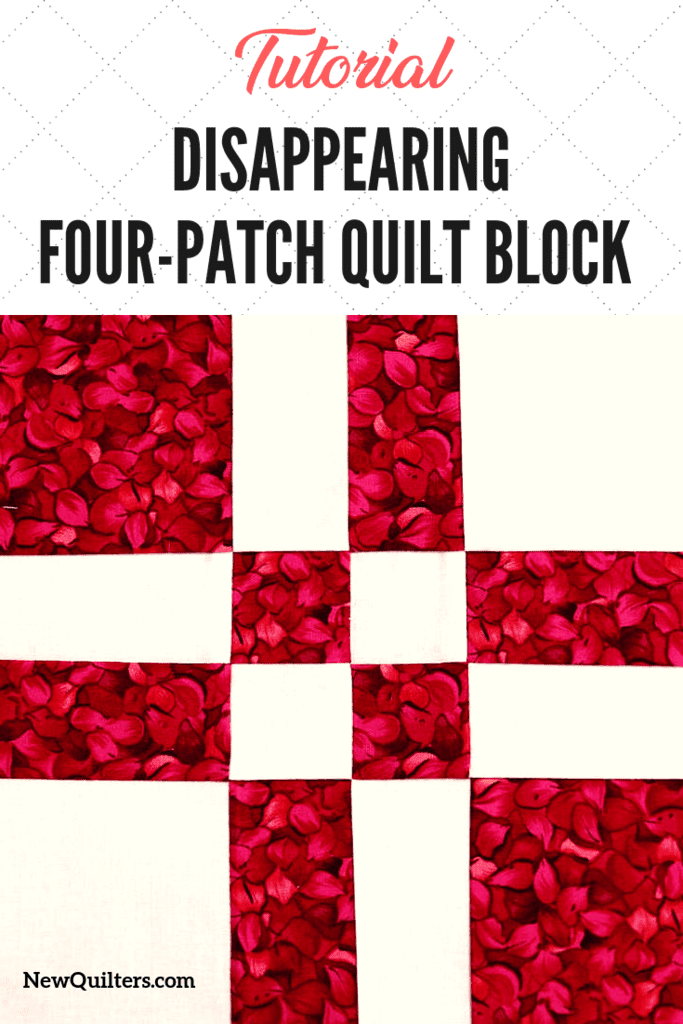
Disappearing Four-Patch Quilt Block Tutorial
I was doing some quilt blog-hopping the other day when I saw this tutorial on how to take an ordinary four-patch block, cut it up, and turn it into a cool new block that looks much more interesting than the original. I just had to try it for myself.
I started with four five-inch squares, then sewed them into a simple four-patch block.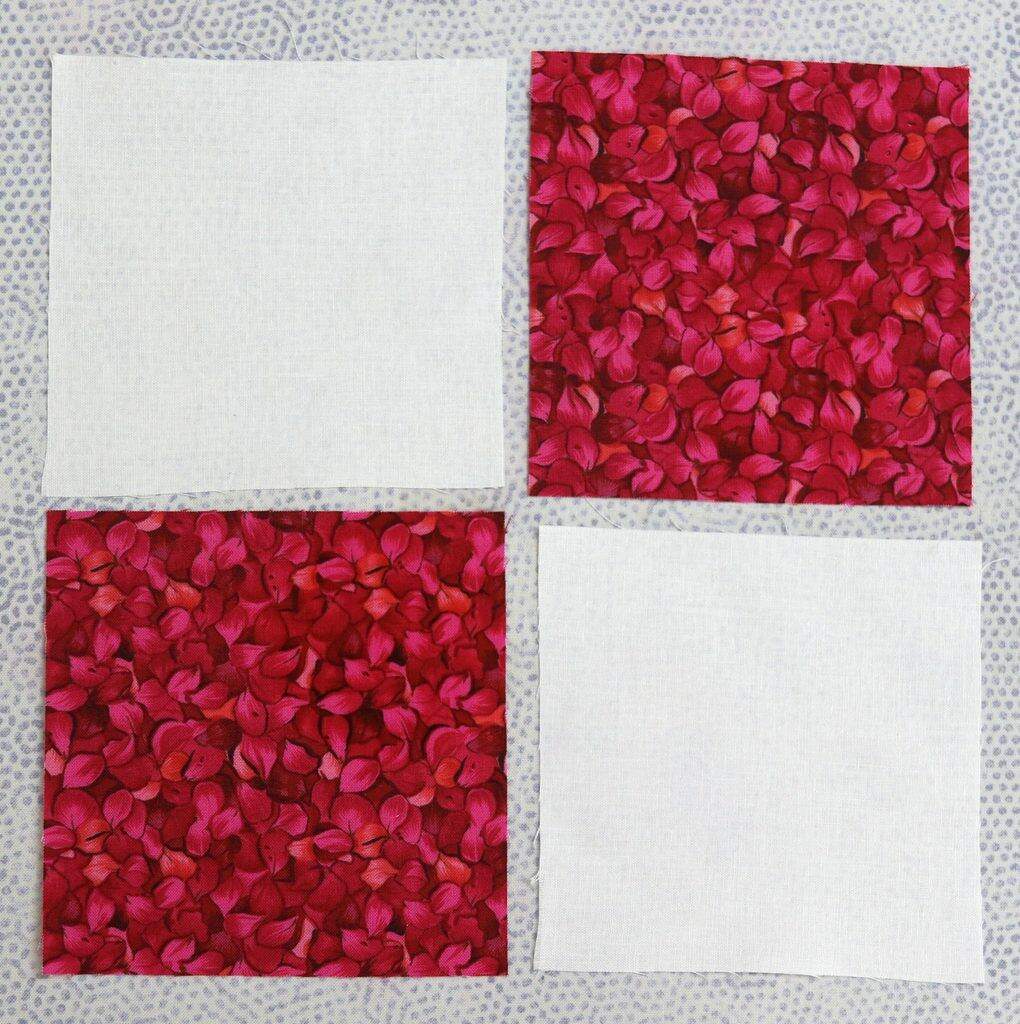 Then I used my ruler and rotary cutter to cut the block vertically and horizontally, 1-1/2″ from the center seam.
 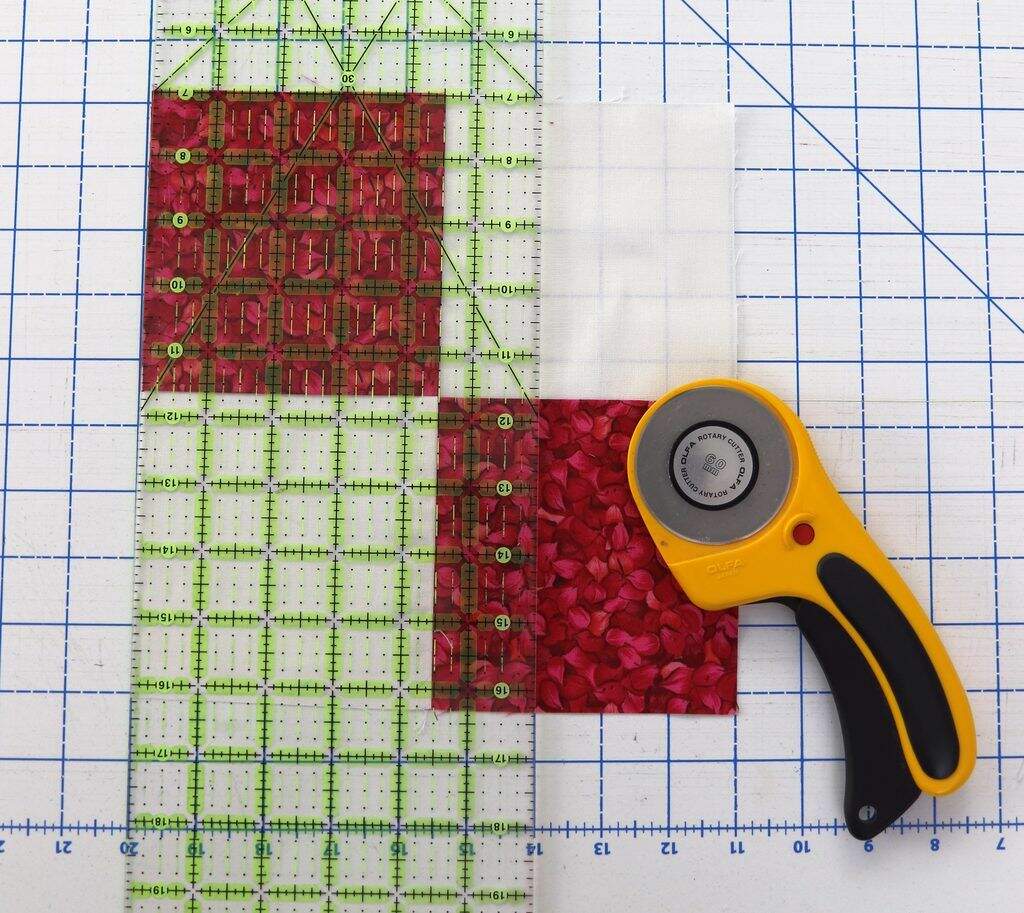 The cut-up block looked like this:
 ![]()
Then I rotated the inner cut sections so the reds and whites alternated, like this: 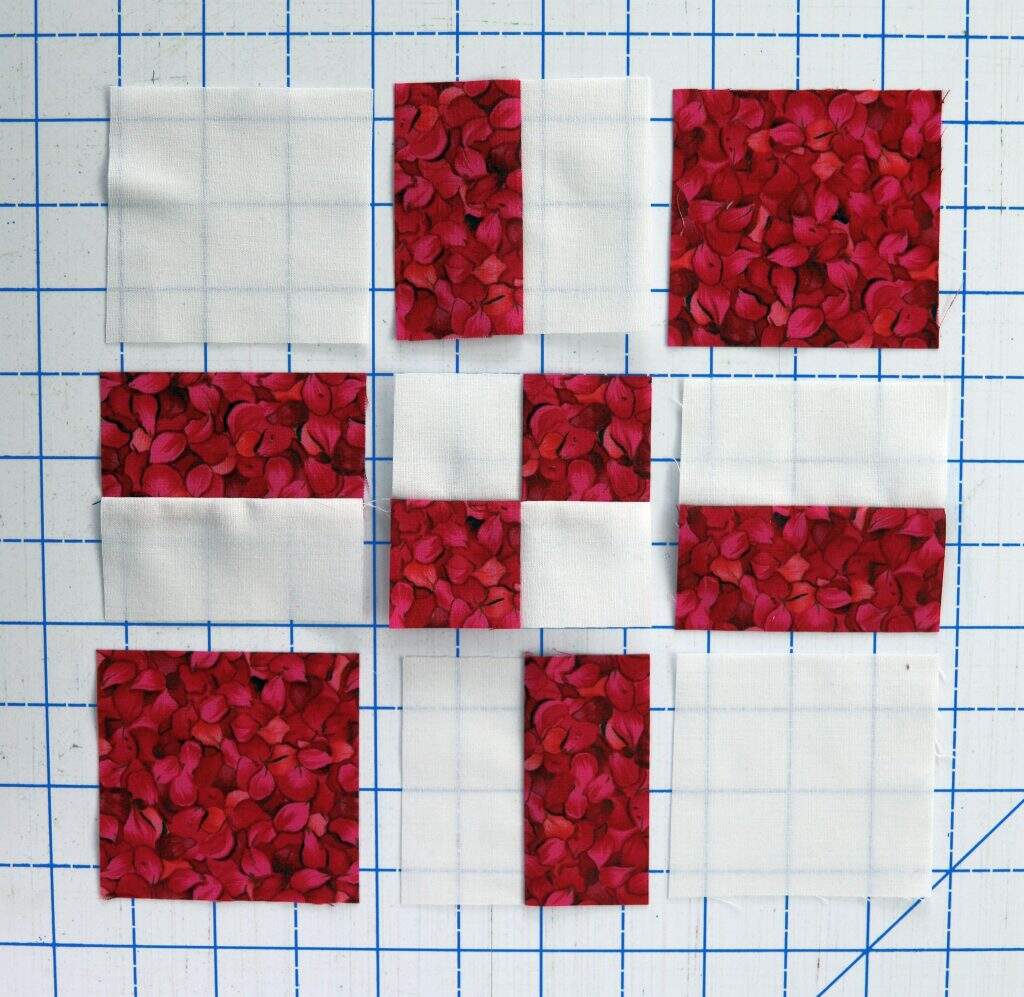
Then I stitched them together into rows, using a scant 1/4″ seam. I started with the top row and sewed the pieces together, working from the left side of the block to the right. Then I pressed the seams in the rows so they faced in alternate directions. This helps nest the seams together so the corners match neatly when you sew the block together. 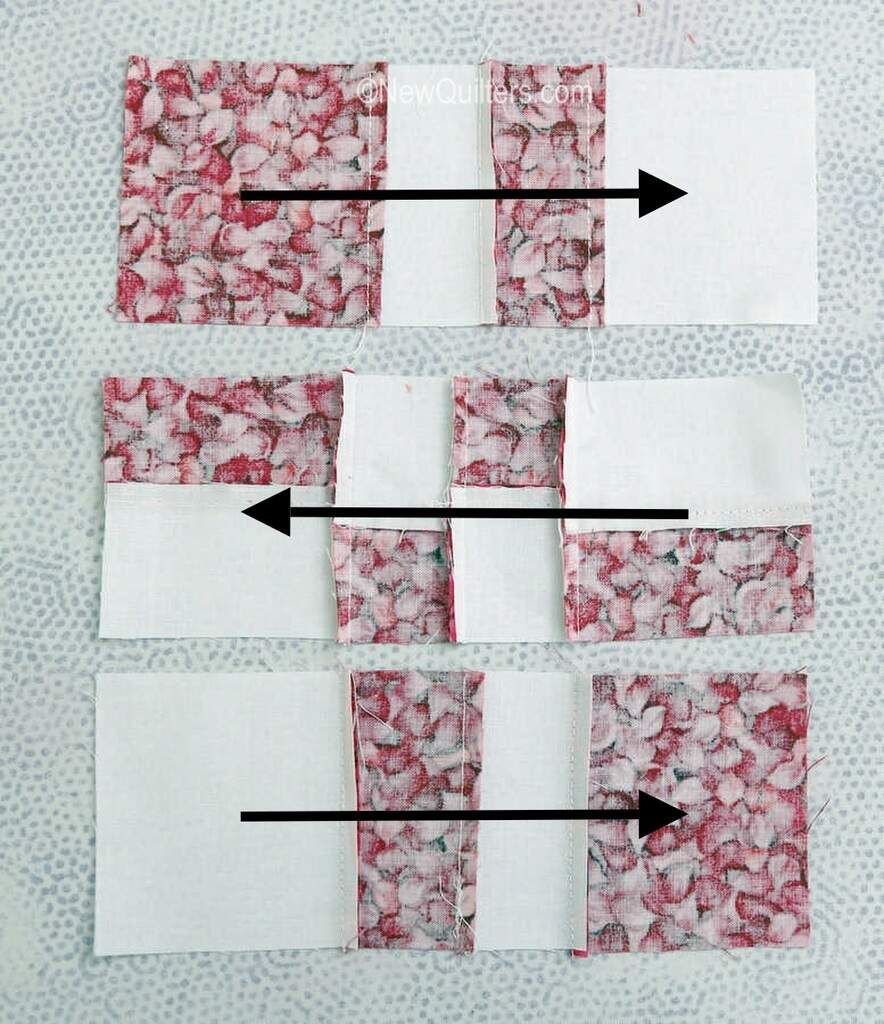
Finally, I sewed the rows together, working from the top row of the block to the bottom. 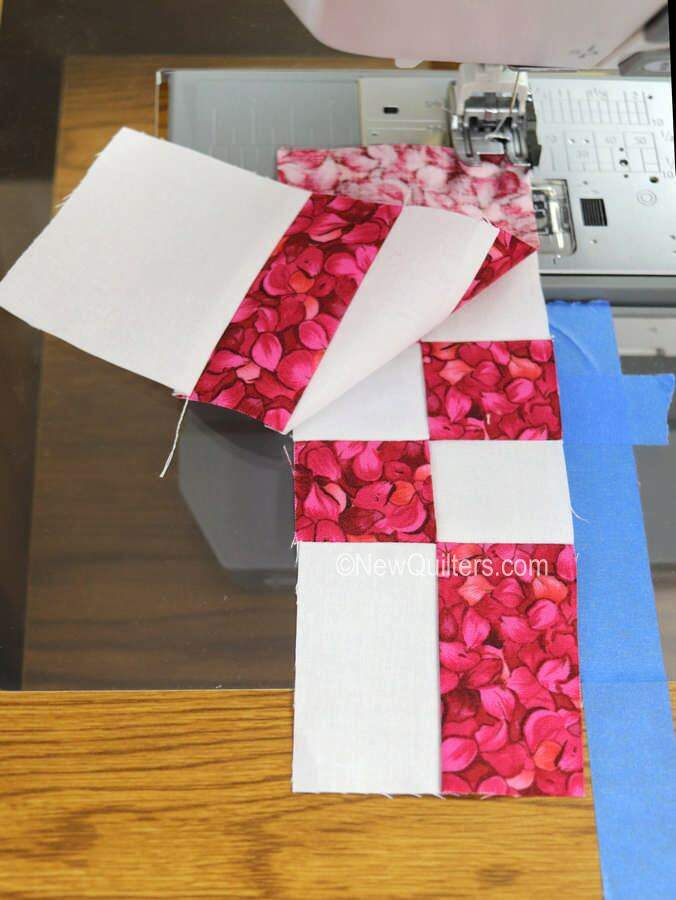
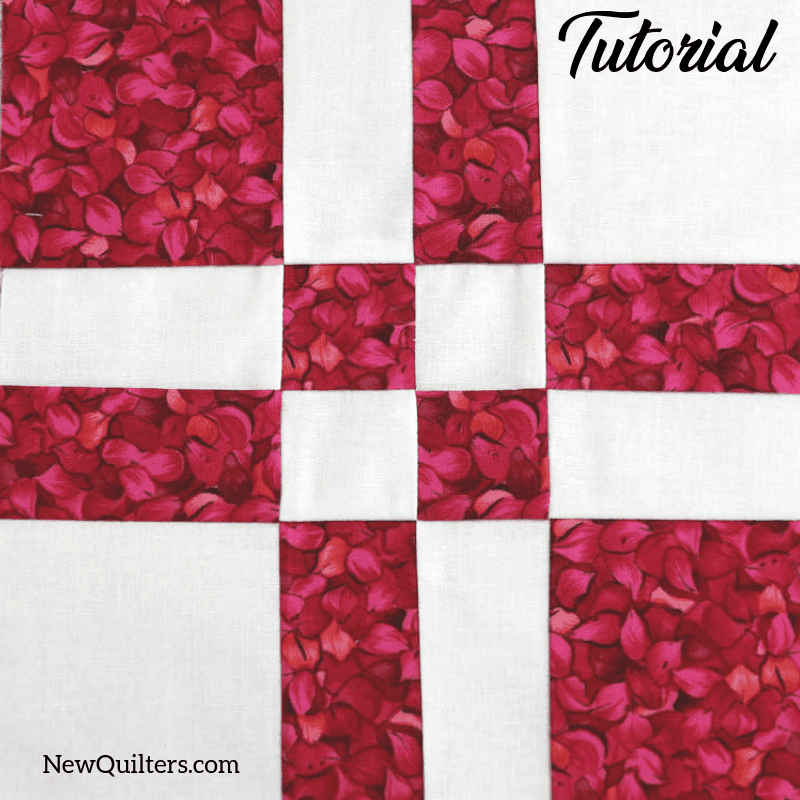
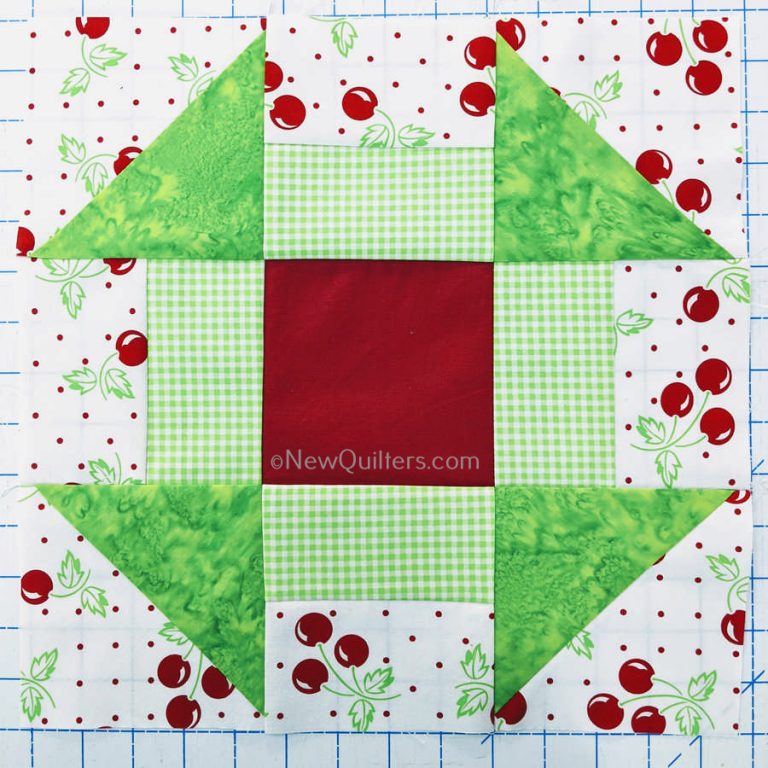
And here is the finished block.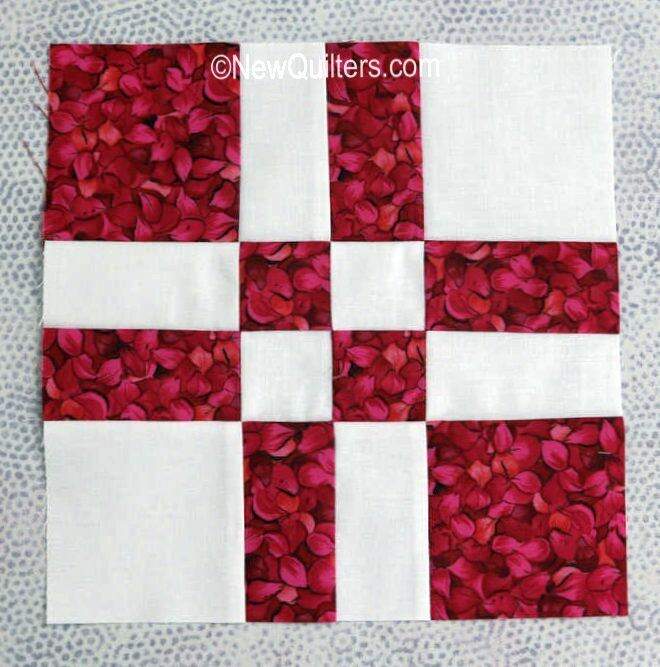
And here it is from the back side, showing the seam allowances. 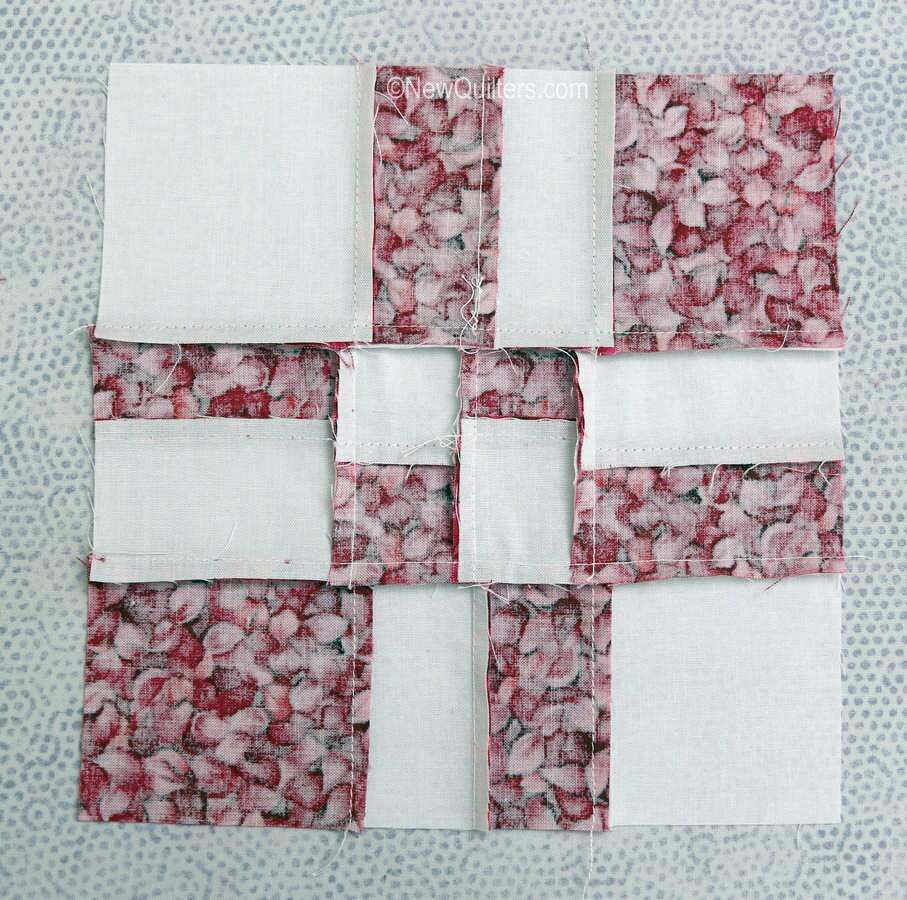
Pretty cool, huh? It turns a humdrum four-patch block into a modified nine-patch that has a cute little four-patch right in the center.


Awesome I will definitely have to make some of these!
This is a really great site I like the block and the instructions are very clear. Thank you.
Margaret.
Really like that idea!
Love this Block it is going to be my next quilt for sure.
Thanks!
gale
As a novice quilter this looks like something I wouldn’t lose interest in. I like the pattern after the larger block is cut.
Do u have a picture of the finished quilt?
Just the block tutorial, Torile. You can find patterns for disappearing four-patch quilts on Pinterest, I’m sure.
What size is the finished block?
It’s been a long time since I made this block and I honestly don’t remember. However, you can make a disappearing four-patch any size you want, as long as you start with a block that has four equal-sized squares in it. The larger the original squares are, the easier it will be to do the cutting and reassembling.
Love this!!!
Thanks, Karen!