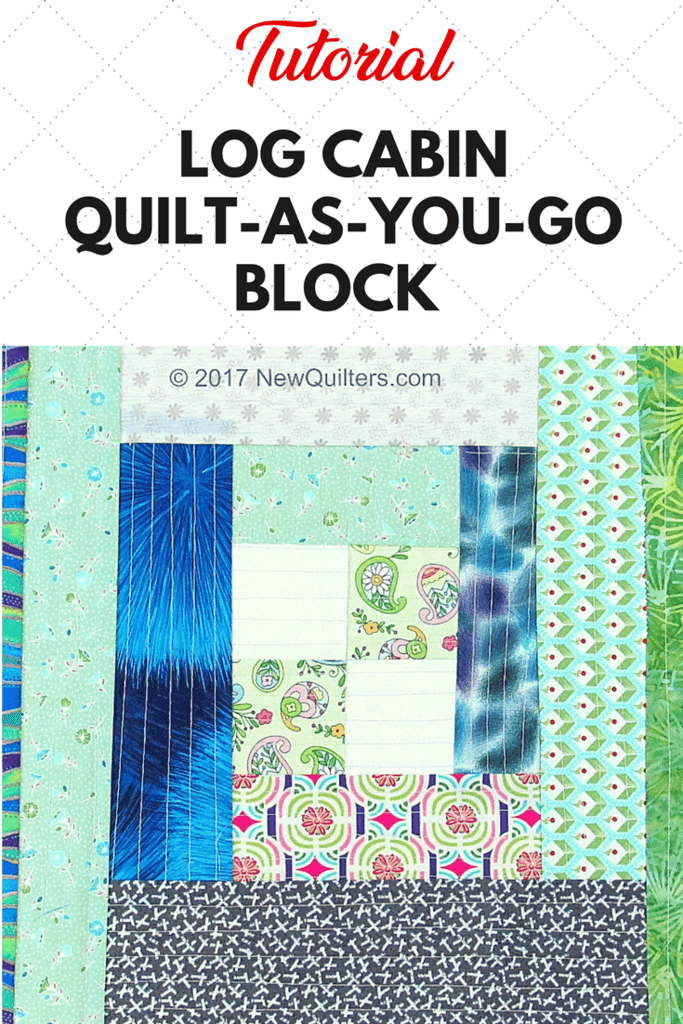
Log Cabin Quilt-as-you-go Block
 Do you ever feel like you’re drowning in fabric scraps? That’s how I felt when I came back to my quilting room after spending most of the holidays away from my sewing machine. Having scrap piles everywhere is very stressful. But I hate to see any piece of fabric go to waste.
So today, I decided to tackle my scraps by making a set of scrappy Log Cabin blocks, using a new (to me) quilt-as-you-go technique from Jera Brandvig’s book, Quilt-As-You-Go Made Modern.
What is Quilt-As-You-Go?
Quilt-as-you-go is a technique that eliminates a couple of steps from the typical way of making a quilt. You sew together the quilt top and attach it to the batting all in one step, instead of putting together the quilt top first and then adding the batting and backing layers. In Jera’s book, you quilt the top and batting together, then add the backing fabric as a separate step at the end.
To make these blocks, you start with a square of batting and a set of scraps whose colors and patterns you like together. The batting block should be an inch or so larger on each side than you want the finished block to be. You will trim it down when you square up the blocks at the end. My batting blocks were 15″ square. I like big blocks because it only takes a few of them to make a whole quilt.
Step by Step
Start by laying a piece of fabric more or less on the center of the batting block. This is an improvised block, which means you don’t have to worry about getting your fabric exactly in the center. I used a leftover Four-Patch block I made for some long-ago project.
Stitch the fabric to the batting with a series of parallel seams, like this.

This is an improvised block, so you don’t have to get the seam lines exactly parallel to each other. Some hints:
- Jera recommends setting your stitch length at 3.5.
- Start and end your stitches on the batting.
- You don’t need to back stitch or anchor your stitches, since the ends of your seams will be covered by the fabric you add later.
- After you finish stitching, trim off the loose thread ends. That way, they won’t get caught in your presser foot as you add more sections to the block.
Lay a second piece of fabric on your central piece, right side down. A strip is the perfect shape, but your strips don’t have to be perfectly straight to work.
The new piece should be about the same length as one side of the original piece. If your piece is too long, fold it up at the edge of the center piece and finger press, then use scissors to trim it to the right length.

Stitch the new strip to the edge of the original piece, using a 1/4″ seam. Your seam doesn’t have to be perfect, either, but you do want to make sure you stitch through both layers the whole length of the seam.

Finger press the new piece to the side, then quilt it to the batting the same way you did the first piece. Sew the strip along its length so your stitches start and end on the batting.
Keep adding new strips, working your way around the outside of the section you have already quilted. Try to arrange your strips so your quilting alternates between vertical stitching and horizontal stitching.
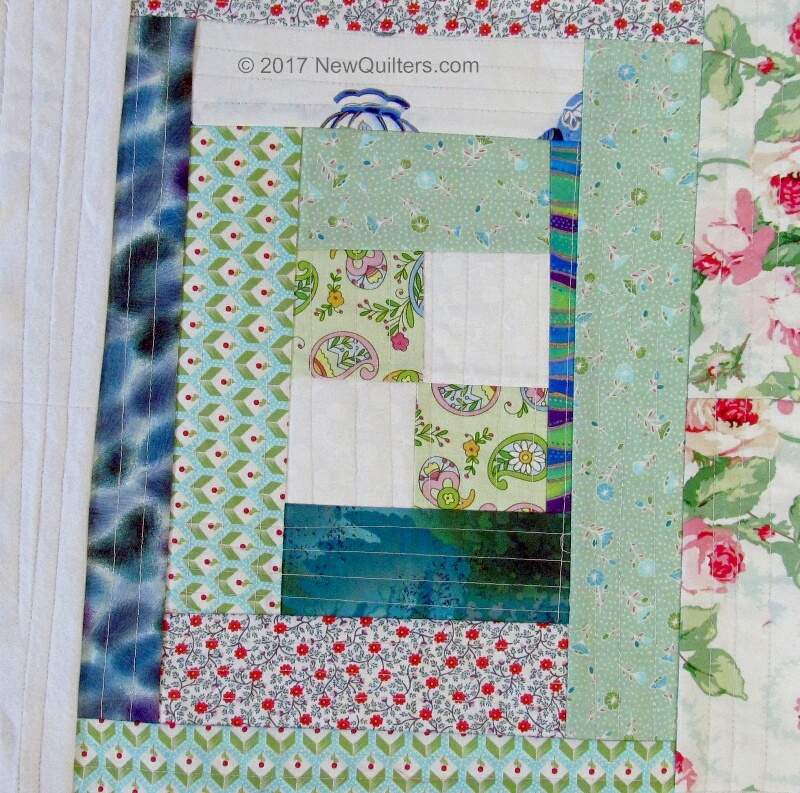
When you are finished quilting, lay the block on your cutting board with the right side down. Trim any extra fabric from the outside edges of the block.
Here’s the first block I finished:

And here’s the second block:

Once I got the hang of quilting each strip immediately after I sewed it on, the blocks went together very quickly. I like the modern look the grid quilting gives the blocks. And I love using up scraps! Did I make any impact on the size of my scrap pile? No. But it still felt satisfying to work from my stash instead of buying new fabric.
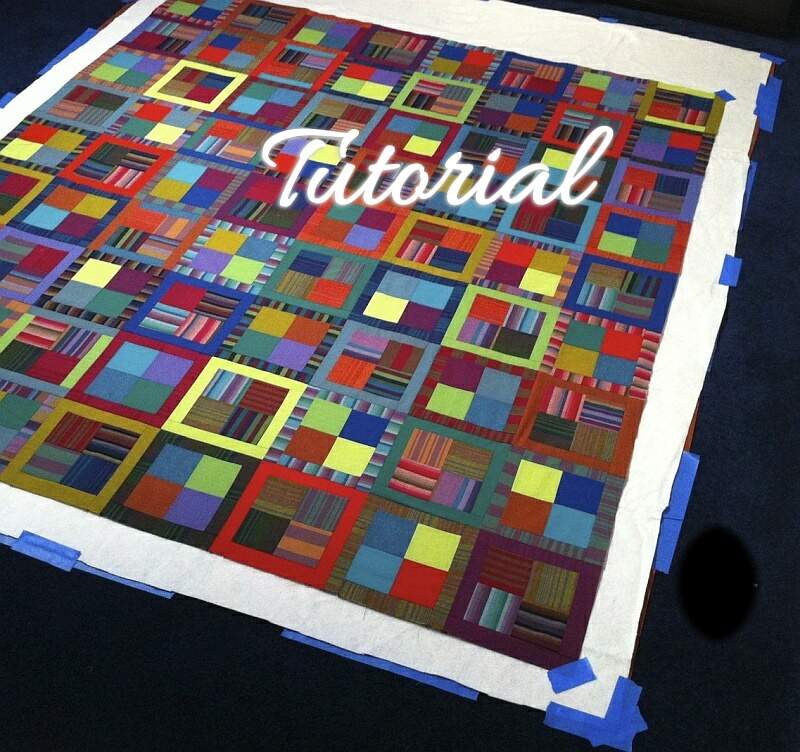
In a future post, I’ll show you how I put the blocks together into a quilt.


Have been doing a log cabin QAYQ with 1.5″ strips. My stash of strips does not seem to go down either – lol. Go to my blog to see the finished quilt. quiltsbybarbi.blogspot.com
I’ve been using up scraps for years and the size of my scrap pile NEVER gets smaller. They reproduce in the scrap bag while I’m not looking. I’m afraid that’s every quilter’s fate.
Did you make a tutorial for sewing the blocks together?
Not yet, so sorry! I have a book on deadline and have to finish that before I do anything else. It’s high on the list of blog posts I want to write.
Christine
Hi, just had to tell you how great your posted ‘lessons’ are. Concise, exact, informative, very clear instructions. I love them.
Thanks, Jocelyn! You made our day.
Is there a fabric on the back of the batting???
Thanks for the question, Gail. The technique I was trying out is from a book, Quilt-as-you-Go Made Modern, that calls for you to sew together the top and batting layers, then add the backing after you have quilted all your individual squares. You could just as easily cut a piece of backing fabric the same size as the batting and layer them both together before you start sewing fabric onto the top. That’s exactly how I make rag quilts — quilting all three layers of each square individually.