How to Sew Rose Quilt Blocks | Stitch & Flip Piecing Tutorial
 Beautiful to look at and heavenly to smell, roses have always been my favorite flower. The rose is also a flower with a history rich in meaning. In the spiritual tradition I belong to, roses and their scent symbolize many good things: the divine Mother and her spirit at work in the world, angels, miracles, and healing.
All that being said, I don’t know why it took me so long to learn how to make a rose quilt block. Especially when it’s so easy to sew and makes such beautiful use of your bright-colored scraps. It may look complicated, but the technique for sewing this block is simple enough for even very new quilters to learn. The method is called sew-and-flip, for reasons that become clear as soon as you try it.
This tutorial shows you step by step how to make a rose quilt block using the sew-and-flip technique.
Tools and Supplies
- Wash-away glue stick OR straight pins
- Rotary cutter
- See-through cutting ruler
Fabric You Will Need
- One foundation square per block of muslin or light-colored solid fabric. The foundation fabric is the base you will use for piecing your rose. You can also use paper as a foundation if you prefer, but I like fabric because you don’t have to tear it away from the block after piecing. The foundation squares I used were 6-1/2″, to make a 6″ finished block. You can make your blocks any size.
- A pile of scrap fabric. You will need yellow scraps for the center of the rose, pink and red scraps for the petals, and green scraps for the leaves. The scraps start out small in the center of the block and get larger as you get to the outer sections. They don’t need to all be the same size or be completely regular shapes. In fact, odd-shaped scraps help give your block the natural variation that makes it look more like a real rose.
Step-by-Step Instructions
- Cut the foundation square(s) to the size you want the block to be. My foundation squares were 6-1/2″, which make finished blocks of 6″ square.
- Pick out a small yellow scrap to be the center of the rose.
- Use a rotary cutter to cut the scrap into a crazy shape. What’s a crazy shape? It’s an irregular polygon (multi-sided shape) with odd angles. The smaller your quilt block is, the fewer sides the shape should have. All sides of the crazy shape should be straight lines, to make stitching on them easy.
- Use a wash-away glue stick to dab the back side of the scrap with glue, then fix the scrap to the foundation square more or less in the center of the square. (If you don’t have a glue stick, you can use a straight pin to hold the scrap in place.) The scrap doesn’t have to be exactly in the center. In fact, your roses will look more natural together if you vary where you put the center scraps.
- Pick one scrap from your red and pink pile that is at least as long as one edge of the yellow scrap. Lay the red scrap on an edge of the center scrap, right side down. Align the edges of the scraps together, then sew the new scrap to the original one with a scant ¼” seam. Try to stop stitching right at the edge of the old scrap and not stitch off onto the foundation, which makes trimming more difficult.
- After the scrap is sewed on, press the scrap open. You’ve just mastered the stitch and flip technique!
- Rotate the block clockwise and add a new scrap to the next edge the same way you added the first one. The new scrap should be at least as long as the whole edge you’re sewing it to. Take care to keep all your stitches on the scraps, not on the foundation. That prevents gaps where the foundation shows through the rose layer.
- Keep turning the block and adding a scrap to each side. If a new scrap is wider than the edges of the center section, use a pair of scissors to trim off the extra bits so the edges of the new scrap extend the existing edges. Trimming the excess fabric makes sure this scrap doesn’t show through the next sections you add to the block. Trimming extra bits is most important with dark fabrics. If your scrap small and/or light colored, you can probably skip the trimming without problems. Don’t worry if your trimmed edge isn’t neat. It will get covered up as you add scraps.
- As you get to the outer corners, add some green scraps to to the block to represent leaves. These green corners are important. They help give the flower part of the block a rounded, rose-like shape. Without them (don’t ask me how I know this), the rose can end up looking blocky and awkward.
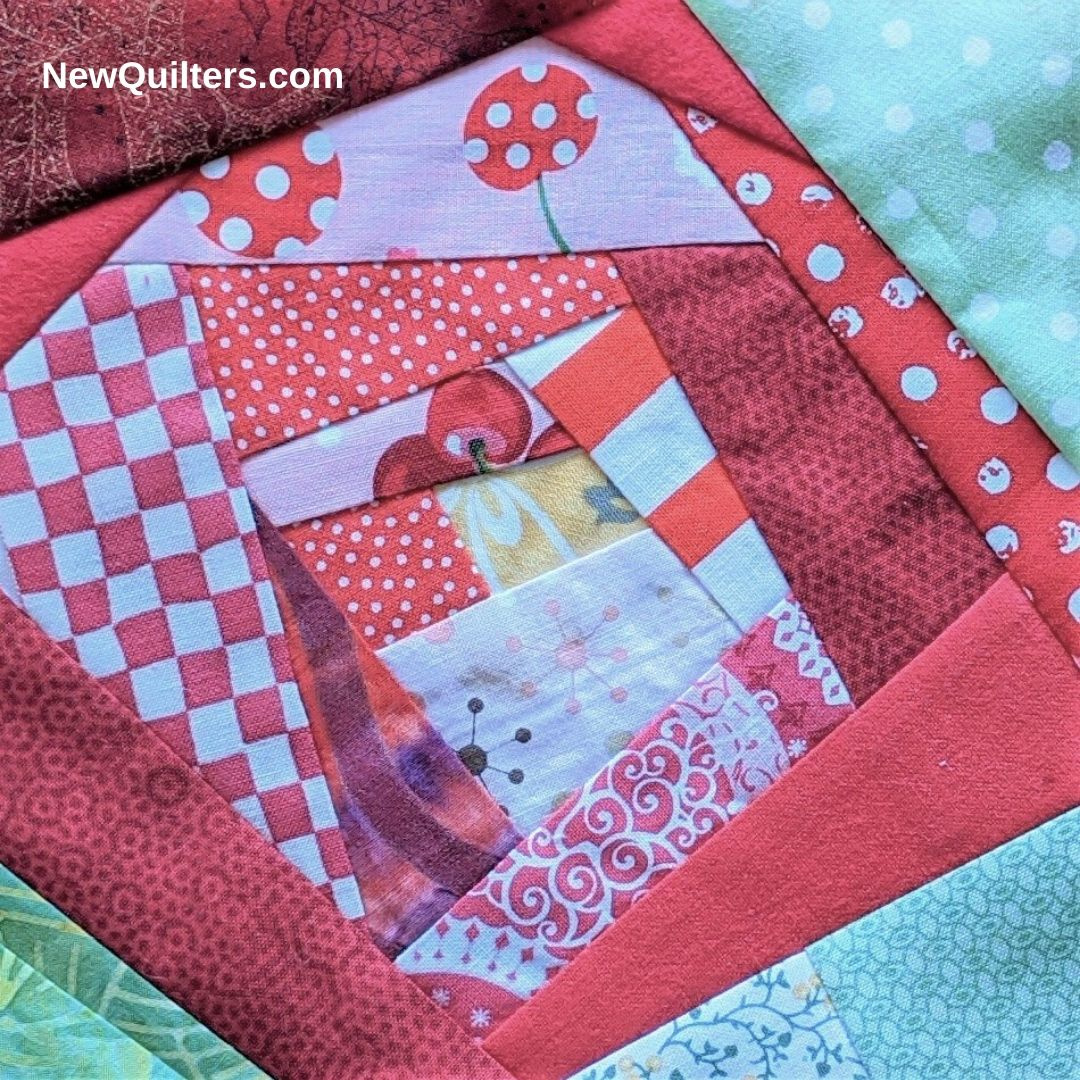
- Work your way around the block until the entire foundation is covered with scraps. The photo below shows the order in which I added my scraps to one block.
- Turn the block over so the foundation square is on top and use it as a guide to trim away any extra scraps.
- Square up the block with a ruler and rotary cutter. Here are three rose blocks I made recently.
Here’s what one quilter did with a set of rose quilt blocks. Don’t you love it?
Thank you
Beautiful!
HiChristine,and thankyou for posting this lovely tutorial! I do have a question though….why use the foundation fabric? Wouldn’t this work just as well simply sewing the pieces together and trimming as you go?
Good question, Janet. Yes, you certainly can do stitch-and-flip without a foundation, but I find it easier to use a foundation for two reasons: (1) the foundation fabric stabilizes the block and helps keep it flat as you’re working on it. This is especially helpful when you are sewing small pieces. (2) The foundation provides a template that helps you see how big it will be when finished and choose the right size pieces to add. It also helps making squaring up the block easier when you’ve added all the fabric you want.
The downside is that foundation fabric makes the eventual quilt heavier.
In the end, it’s a matter of preference. If you like sewing this block better without the foundation, I won’t call the quilt police on you!
Hi Christine! I am from Hungary. I am a really starter quilting maker, but I fell into a love with it. I would like to say thank you for your advices.
Thanks for your kind words! Please write back if questions come up as you’re learning.
I want to sat thank you for putting this up. and for free. always gets my vote. I am so very new to any sewing ever! hand sewing is what I want to learn. it all started there. I am going to hand sew on foundation fabric this rose block but in my favourite colour.danke
We’d love to see a picture of your block, Jan!