Crazy T-Shirt Rag Quilt
 Some quilts are a breeze to make: they come together so easily that afterwards it’s tempting to wonder if they sewed themselves.
Others give you trouble with a capital T. For years, this t-shirt quilt I recently made for my brother-in-law was #1 on my Trouble list. In fact, it wasn’t a quilt at all for most of that time, but just a pile of t-shirts in my sewing room. Why? Because I have never been fond of the typical t-shirt quilt layout of a rectangular grid with sashing. You know the one: This grid design is a perfectly lovely way to show off someone’s favorite t-shirts. The grid brings order to a motley group of shirts that have different colors, themes, and sizes. It just didn’t feel quite right for my quirky, artsy brother-in-law. But what would suit him better?
I looked through t-shirt quilt layouts on Pinterest for months and months. Finally, I came across an idea I thought might be fun to make: a t-shirt crazy quilt.
A crazy quilt is a scrappy quilt sewed together more or less at random and heavily embellished with embroidery, buttons, charms, and other little trinkets. If you’re not familiar with crazy quilts, this sample of a quilt made by Sarah Eliza Pye in 1897 is typical of the style. The quilt I had in mind was not quite as crazy as this example, but it borrowed the odd-shaped pieces of fabric and off-kilter placement typical of crazy quilts. Each block in the quilt would have a t-shirt as its centerpiece.
The next step was to give some thought to which shirts to include in the quilt. My sister had sent me a pile of her husband’s t-shirts from his job and local stores and events from his area of Boston. Those shirts made a good start, but I knew other things about my brother-in-law that I also wanted to pay tribute to in the the quilt.
I knew, for instance, that he’s a huge fan of the TV game Jeopardy, so I found a t-shirt that poked fun at his Jeopardy obsession. I also knew that he deeply admires Muhammad Ali, so I searched out a couple of t-shirts that honor his hero. Those two shirts became the centerpiece of the whole quilt. (I found both of them on Etsy.com, which is a great place to find handmade, unusual items.)
If you’re making a t-shirt quilt for someone you know well, think about that person’s interests, hobbies, favorite places, and favorite colors. Are there shirts or other items you can add to the quilt to make it an extra-special surprise for the recipient?
Here’s a picture of the shirts for my brother-in-law’s quilt in my layout area on the living room floor. Everyone had to tiptoe around them for several days while I arranged and rearranged them. Some of the ones you see here didn’t make the final cut.
After deciding which shirts to use, I cut them all up and backed them with interfacing to keep them from stretching while I sewed them. Then I sewed each shirt into a crazy quilt block.
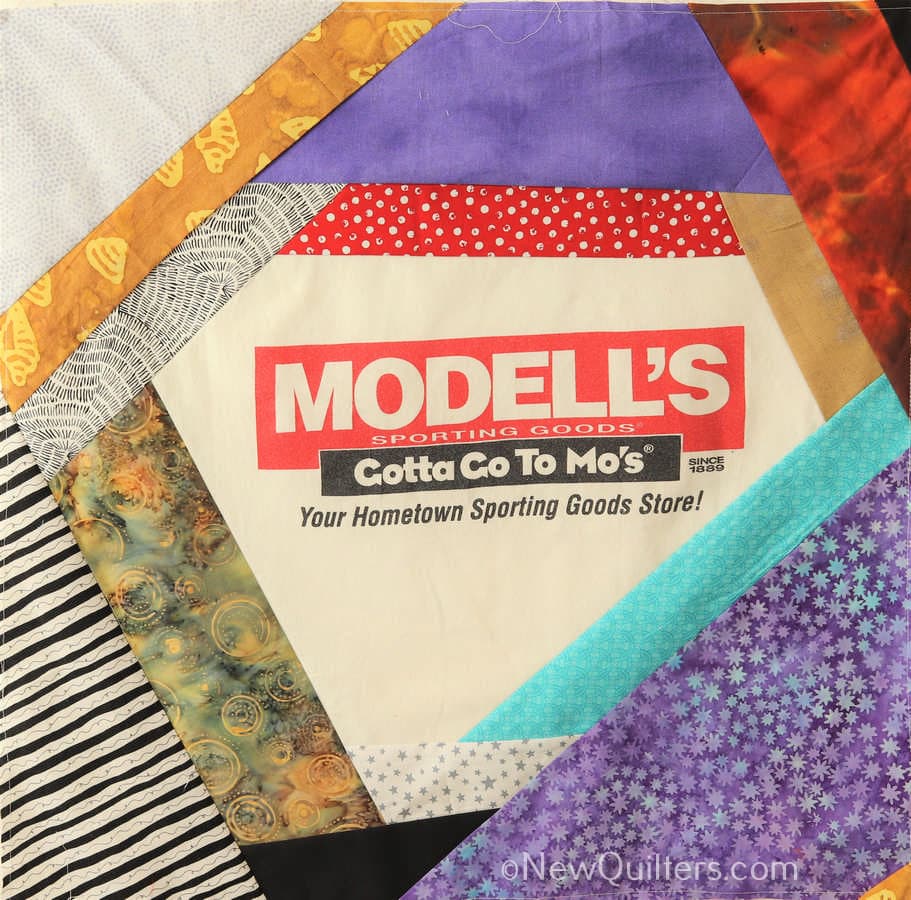
Every block was different from all the others, which is one thing that’s fun about making a crazy quilt. I used quite a few fabrics in several blocks, and took care to limit the colors and prints I used. That way, I hoped the blocks wouldn’t look too crazy when I put them together. Here are some of the blocks that went into this quilt:
Once all the blocks were finished, three decisions remained:
- What to use for backing/batting
- How to machine quilt the blocks
- How to sew the quilt together.
Deciding how to back the blocks was easy. Boston, where the quilt will reside, has long, cold winters. I also knew that t-shirt quilts tend to be heavy, so I chose to back the quilt with a warm, light material: a single layer of polyester fleece. Besides being warm, fleece is also soft, washable, and tough. I chose this starry blue fleece to compliment the star fabrics that appear on many of the blocks. Next, I had to decide how to quilt the crazy quilt blocks. They were very large — 24″ square — so I knew I wanted to use a quilt-as-you-go technique and quilt each block individually, instead of sewing all the blocks into a quilt top first and then quilting the whole thing.
The machine quilting took place in three rounds:
- I stitched all the blocks in the ditch around the outer edges of the t-shirt and along each seam line where a piece had been added to the block.
- Then I machine-quilted each piece of framing fabric with parallel straight lines, using my walking foot. If you look hard, you can see those stitching lines etched in the backing in the photo above.
- I also added some minimal free-motion machine quilting to the shirts themselves to make sure the shirt wouldn’t pull apart from the other layers as the quilt it gets used and washed. separate from the other layers over time.
To assemble the finished quilt, I decided on one of my favorite techniques — rag quilting. Rag quilting has the dual advantage of making the quilt look like it has sashing on the front, and covering up any alignment errors I might make when sewing the blocks together.
Here’s the finished quilt. I’m really pleased with how it turned out. It arrived at my sister’s house when her whole family was really sick with coronavirus, and she told me that seeing it for the first time made them feel happier than they had in weeks. What quilter doesn’t want to hear that?
Been debating making a crazy t shirt quilt. Thank you for sharing. It’s going to happen for me!
Give it a try, Jayne. It’s easier than you think!
Beautiful quilts. Seems lots of work to complete them. At almost 83 not sure I may get it near done. Encouraged by your instructions…. Loved the crazy T-shirt-rag-quilt with Ali…..