Sewing Half-Square Triangle Quilt Blocks from Fabric Squares — Tutorial
 Here’s an easy way to make half-square triangle blocks from two fabric squares. Each set of two squares will make two mirror-image triangle blocks.
Step-by-Step Instructions
- Start with two squares of the same size from two fabrics that look good together. I cut one square from this cute cherry fabric and paired it with a white precut square.
- Use a ruler and a pen or pencil to draw a diagonal line from corner to corner across the back of one of the fabrics (whichever one is lighter.) Don’t worry — this line won’t show in the finished blocks.
- Put the squares with right sides together and edges aligned.
- Sew two seams 1/4″ from the center line on either side. Using a ¼” quilting foot makes this easy. The dotted red lines in the photo represent the seam lines.
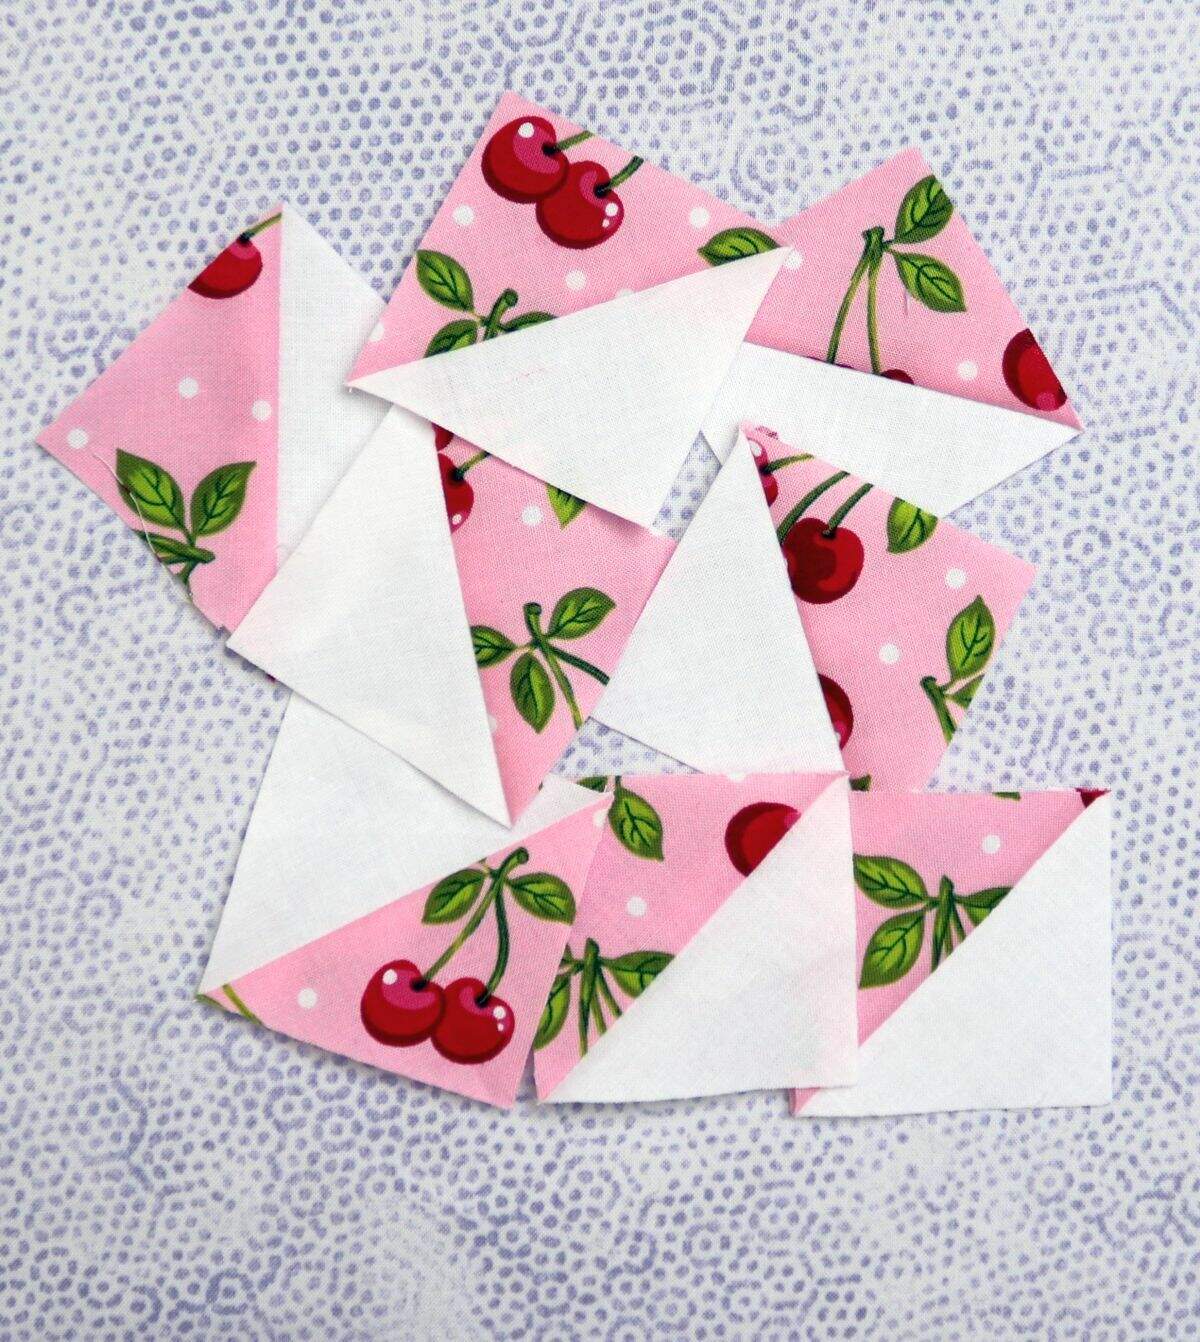
- Cut the blocks apart along the center line. You will get two triangular units that look like this:
- Open the blocks and press the seam allowance to the darker side. Voila! You will end up with two mirror-image triangle blocks that look like this:
- Use a ruler (ideally a square one) to trim the block to the exact size you want and trim off the little tails at the corners.
- If you are making a bunch of triangle blocks at once, you can speed up the sewing and save some thread by chain piecing the blocks. Chain piecing means that as you sew to the end of one block, you feed the next block under the presser foot and sew right onto the next block without cutting the thread between blocks. This is what it looks like when you finish sewing a batch of blocks:
- After you have sewn all the blocks, cut the thread between blocks to separate them.
- Use a square ruler to square up the blocks and trim off the little tails at the corners.
Originally posted November 1, 2011. Revised and reposted 3/26/2017. Revised again 9/4/2018.
I’m new to quilting and trying to teach myself with tips and tricks online and in books. I just bought one of your books, and I am discovering how much I love your blog. Thank you so much for compiling all these skills for beginners. Soooooooo appreciated!
You’re welcome, Amy! Please let me know at info@newquilters.com if you have questions.
Thank you so much, your help is greatly appreciated. I agree, the one inch is much easier to remember than the 7/8th. I have the square ruler with the diagonal line and now I will just have to learn how to use it properly. Can’t wait to get started. Thanks again.
I am new to quilting and I would like to know, how big of square do I need to make a certain size finished block when making a half square triangle block.
Thanks for your question, Arnetia. The precise answer is that to make a half-square triangle block of 3″, for instance, you need to start with two squares that are each 7/8″ larger than the finished size of the triangle block. So to make a 3″ block, you would start with two squares each 3-7/8″. However, I find it very hard to measure and work with 7/8 of an inch, so I make my squares 1″ larger than the finished block. To have a 3″ finished half-square triangle block, I start with two 4″ squares, then trim the finished block down to the 3″ size after I sew it. This means you trim off a little more fabric, but I find it much easier to work with whole inches than 7/8″. Make it easy on yourself by getting a square ruler with a diagonal line you can align with the diagonal seam line in the block. This makes it much easier to square up a triangle block.
Hope you could follow that answer. Once you make a few half-square triangle blocks, you will get the hang of it.
Happy quilting!
gracias, me gusta esta clase clase de informacion. por que aprendo tecnicas de patchwork y quilting
Thank you for the excellent tutorial. I am new to patchwork any grateful for any help Hugs Pauline
Your kind words are much appreciated, Pauline! Please send us any questions that come up as you go along.