Strip Piecing Basics

We really do live in a golden age of quilting, with all kinds of time-saving devices and techniques the quilters of old didn’t have. I’m especially glad I started quilting after the invention of the rotary cutter and that fabulous time-saving trick, strip piecing. If it’s possible to strip piece a quilt, I do.
Three Steps of Strip Piecing
- Cutting quilting fabric into strips
- Sewing the strips into strip sets
- Cutting the strip sets into smaller units, then resewing them into larger units or complete quilt blocks
Tools and Supplies
The tools you’ll need for strip piecing are probably already in your sewing room:
- Rotary cutter
- See-through, no-slip cutting ruler (preferably 6” x 24”)
- Cutting mat with a grid marked to help you align your fabric as you cut.
- Quilt fabric
- All-purpose or quilting thread in a neutral color (grey or beige are both good)
- Sewing machine, ideally with a ¼-inch quilting foot
- (Optional) 1/4″ seam guide marked on the bed of your sewing machine. See how to make your own seam guide.
Step One – Cut the Quilt Fabric into Strips for Piecing
For many quilts, you can use jelly roll fabric strips that eliminate the need to cut your own strips. If you want to cut your strips from larger pieces of fabric, here’s how to do it:
- (Optional) Prewash the fabric in a mild soap such as Orvus or Woolite. I prewash mine on the shortest gentle cycle in my washing machine, then dry it in the dryer.This keeps the fabric from shrinking later, after you put the quilt together.
- Press the fabric and (optional) starch it to give it stiffness and make it easier to handle.
- With the fabric on a rotary cutting mat, fold the fabric in half, matching the selvage edges together. If there is a wrinkle or bulge at the bottom of the fold, like the one in the photo below, slide the selvages against each other either to the left or the right until you eliminate the bulge.
Don’t worry if the right and left edges don’t align. You will fix that soon. Put the folded fabric on your cutting mat with the selvage edges at the top, away from you, and the fold at the bottom. - Fold the fabric in half again, bringing the folded edge up to align with the selvages. Arrange the fold so it lines up with one of the horizontal lines on the cutting mat.
- Place the ruler close to either the right or left edge of the fabric. (If you are right-handed, use the left edge. If you are left-handed, use the right edge.) Align one of the ruler’s horizontal lines with the folded edge, making sure that your ruler is inside the fabric’s raw edges on all the folded layers. Use a rotary cutter to trim the edge of the fabric so the cut edge is square with the fold.
- Use your ruler to measure the width you want to cut, then cut the fabric from the bottom fold to the top to make a fabric strip. This photo shows me cutting a 2-1/2″ strip.After you cut a few strips, recheck the cut edge to make sure it is still square to the folded edge. If necessary, trim again to square the edge.
Step Two – Sew Fabric Strips into Strip Sets
Here’s how to assemble strip sets:
- Stack the fabric strips for this strip set in the order in which they will be sewed, like this. To keep the stacks organized, sewing teacher Nancy Zieman suggested arranging them on a towel that can be rolled up to store or move the strips without disarranging them. (Quilt with Confidence, Krause Publications, 2008, ISBN-13: 978-0-89689-593-5)
Photo by Cindy H, Flickr.com - Set the stitch length on the sewing machine to 2.5 (12-15 inches per inch.) A tighter-than-normal stitch helps stabilize the seams on strip sets that will be cross-cut into smaller units.
- Put two strips together lengthwise, with right sides of the fabrics facing together. Don’t worry if the strips aren’t exactly the same length. You will trim them later.
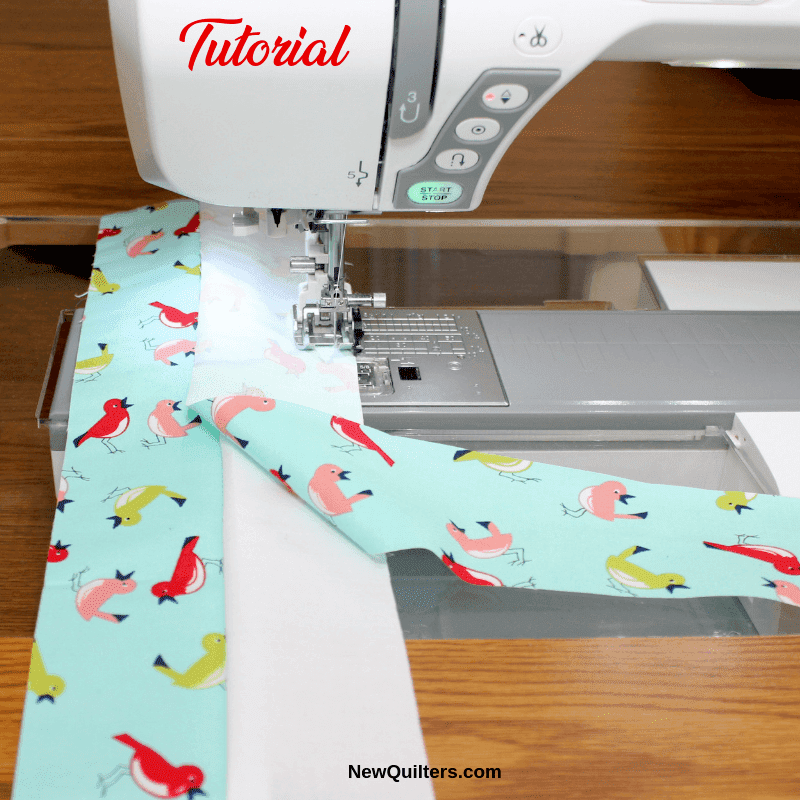
- Sew the strips along one long edge, using a scant 1/4” seam. This is easier if you have a ¼-inch quilting foot.
- If you’re sewing several identical strip sets, use chain piecing to speed up the sewing. When you reach the end of one strip set, don’t cut the threads or raise the presser foot. Instead, put the next strip set so its end almost butts against the end of the fist strip set and sew from the first set of strips right onto the next set. After you’ve sewed all the strip sets, use scissors or a rotary cutter to cut the threads between the strip sets.
- Stack the sets and continue adding strips, one at a time, until all fabric strips have been sewed into complete sets.
Step Three – Cut the Strip Sets into Smaller Sections
Here’s how to sub-cut a strip set into smaller units:
- Put one strip set on the cutting mat. Align one long edge of the strip set with one of the horizontal lines on the mat. Align the cutting ruler so it is perpendicular to the strip set’s long edge. Trim the end of the strip set with the rotary cutter to square the end.
- Cross-cut the strip sets into smaller sections as required for the quilt block you are making.
- Stack the strip sections in the order in which they will be sewed together into a block, just as you stacked the fabric strips before sewing them into sections.
You are now ready to sew the sections back together into a quilt block.
Estimating Yardage for Strip Piecing
Here’s the number of strips of various widths that can be cut from a yard of fabric:
- Twenty six 1-3/8” strips
- Twenty four 1½” strips
- Sixteen 2¼” strips
- Ten 3½” strips
- Eight 4½” strips
- Five 6½” strips
The number of blocks you can cut from a given number of strips depends on the size of the block you are making and the number of strips that go into each strip set.
Nowhere do I see that you tell people to press the seams after sewing! This could make your strips not lay flat.