Spinning Star Quilt Block Tutorial

I don’t know how I’ve lived through all these years of quilting without coming across this fun, wonky star block, but I just saw it for the very first time on Instagram a few days ago. I knew instantly that I had to sew it and write a tutorial for it.
There was only one hitch: I didn’t know what the block is called.
I searched for it in my Encyclopedia of Pieced Quilt Patterns with no luck, so I am calling it the Spinning Star, in honor of the pinwheel effect of the star points on the outer edges of the block. If anyone knows a historical name, please let me know in the comments.
Spinning Star Block Overview
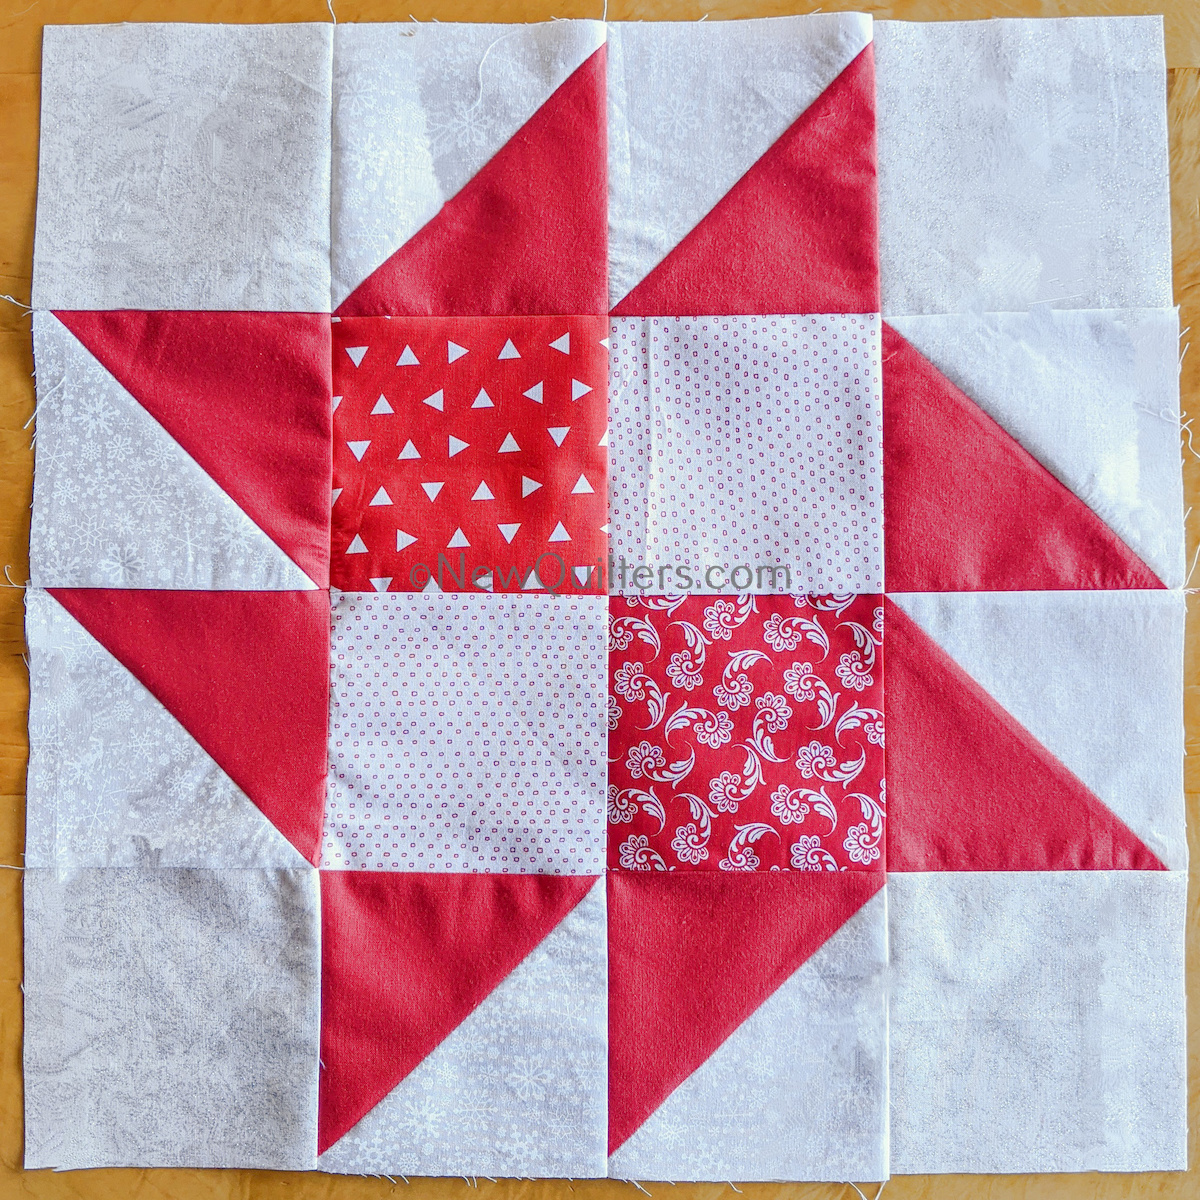
Quilt block geeks will see right away that this is a sixteen-patch block: a grid made up of sixteen squares, divided into four rows of four squares each.
The block is built by combining eight half-square triangles with eight 5″ fabric squares. I used some of my ever-growing stash of precut squares to make this red-and-white Christmas version of the block.
Use a different set of fabrics, and you can make the block look quite different. Here’s a Christmas green version:
You can also make a scrappy version that works in any season. This one combines 1930s and 1950s-style reproduction fabrics.
Step-by-Step Instructions
These instructions show you how to make one Spinning Star block with a finished size of 18″ (unfinished size 18-1/2″). This is a good size to make a pillow or a small table topper quilt.
- For each block, you will need:
* Four 5″ squares for the center. I like the checkerboard effect created by alternating two light squares with two dark squares, but you can use all light squares or all dark ones if you prefer.
* Four light colored 5″ squares for the four outer corners of the block.
* Four 6″ light squares and four 6″ dark squares. You will use these to make eight 5″ half-square triangle blocks that make up the points of the star. - Use the light and dark 6″ squares to make eight half-square triangle blocks. Click or tap here to learn how to make triangle blocks from two squares, or here to make four identical triangle blocks with no marking required.
- Lay out the blocks as shown in this diagram:
- Sew the blocks into rows, using a scant 1/4″ seam. After you sew each row, turn the row over and press all the seam allowances between the blocks in the same direction. Press the seam allowances in each row in the opposite direction from the ones in the previous row, as shown here:
- Sew the rows together.
- Press and square up the block.
Simple Spinning Star Quilt 54″ x 72″
Just to give you an idea of how you might use this block, I made a quick diagram to suggest how it might look in a basic layout that alternates star blocks with squares of fabric.
Spinning Star Table Topper Quilts
Here’s another option: two ways to lay out your Spinning Star blocks to make a 36″ x 36″ table topper quilt.
The Spinning Star block is also just the right size for a pillow. If you want to do that, add a 1.5″ border all around the block so the points will be visible even after you construct the pillow.
Yes, a PDF would be great! I’m going to use this pattern for a grandson who is always in motion.
Dear Heather and Lillian,
I have to confess that turning web pages into PDFs is a lot of work, which is why you only see a few of them on this blog. Here’s a shortcut I use: a browser extension called “Print Friendly & PDF” which converts a web page like this tutorial into a PDF with a single click. You can also remove any extra bits you don’t want to print, such as navigation or ads. I use it on the Firefox browser. If it’s available on your browser, you can print web pages and save them as PDFs for later reading.
Is it possible for you to make these tutorials a PDF for easy printing????
It would be very helpful.