How to Make a Quilt Hanging Sleeve
A hanging sleeve is a fabric tube sewn to the back of a quilt to make it possible to hang the quilt on the wall. A dowel or a rod or a flat board is slipped through the tube, then suspended from nails or screws on the wall. Hanging sleeves are also used to mount quilts at shows and competitions.
Step-by-Step Hanging Sleeve Instructions
It’s easy to make a hanging sleeve for your quilt. The method you’ll learn in this article involves a minimum of hand sewing. Learn a different method with no hand sewing at all.
You put on the sleeve after you square the quilt up for binding, but before you actually sew on the binding.
Here’s what to do:
- Square up the quilt for binding.
- Measure the width of the quilt at the top. Subtract a couple of inches. so the sleeve is just slightly shorter than the finished quilt.
- Cut a piece of fabric 9″ tall by the width you just measured. You can use any fabric for this, because the sleeve isn’t visible from the front of the quilt, but I like to use a fabric that harmonizes with the quilt, in case anyone ever looks at the back. (It’s like wearing nice underwear in case you get into a car crash.) If you’re planning to enter this quilt in a show, check the show guidelines for hanging sleeves. Most shows require a tube at least 4″ tall, so it can fit over the metal pipes shows use to display quilts.
- Fold the short edges under 1/4″ to the wrong side of the fabric and press.
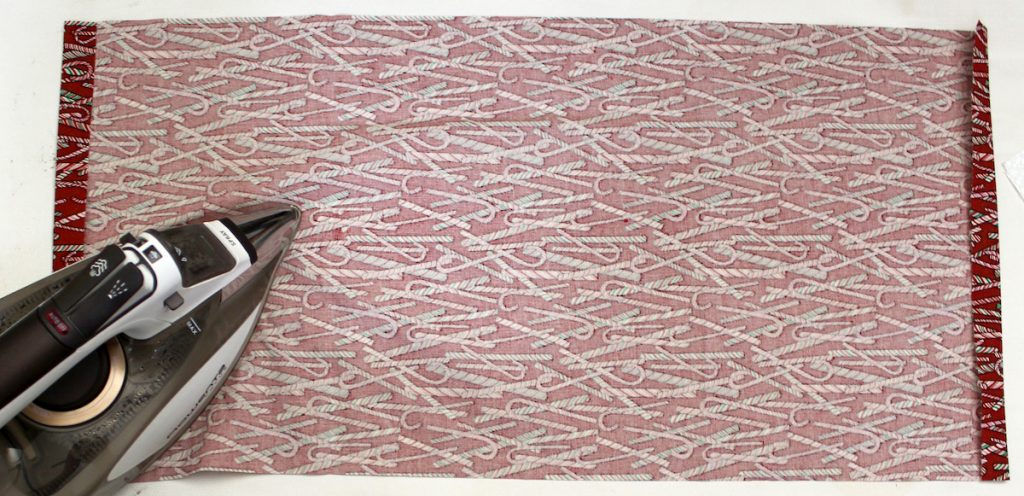
- Fold them over one more time and press again.
- Stitch the edges down to make a finished edge.

- Fold the sleeve in half lengthwise, with wrong sides together.
- Center the sleeve’s raw edges on the top edge of the the quilt and pin it in place.
- Stitch the sleeve to the edge of the quilt, using a 1/8″ seam allowance.
- Sew on the quilt binding. The seam allowance for the hanging sleeve will be encased in the binding.
- Using a hand needle, whip stitch the bottom edge of the hanging tube to the backing fabric.
Now you’re done! All you need is a dowel or a rod and you’re ready to show off your quilted wall hanging.
Post photo: “Blushing Beauty,” by Sue Rohrke, photographed by Christine Mann at Pacific International Quilt Festival, 2010.